RockItCoin FAQs
How to Buy Bitcoin Using a RockItCoin ATM
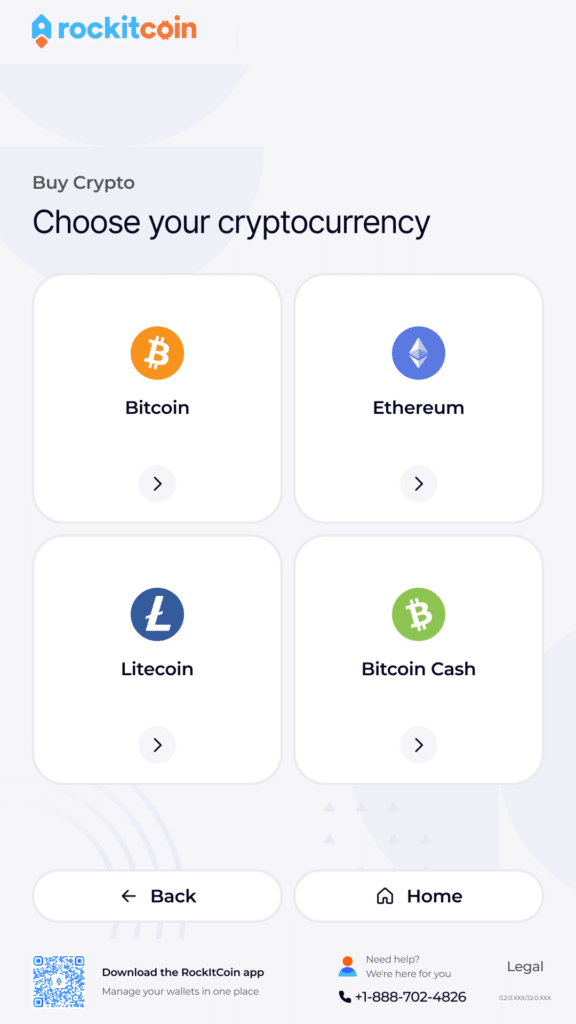
Buying Bitcoin, Litecoin, Ethereum, or Bitcoin Cash at a RockItCoin Bitcoin ATM is easy. We’ll walk you through this process in the steps below.
Note: It’s always best to have a Bitcoin wallet set up before you first visit a RockItCoin ATM.
Click here to download the RockItCoin app.
Step 1: Find and Visit a Local RockItCoin ATM
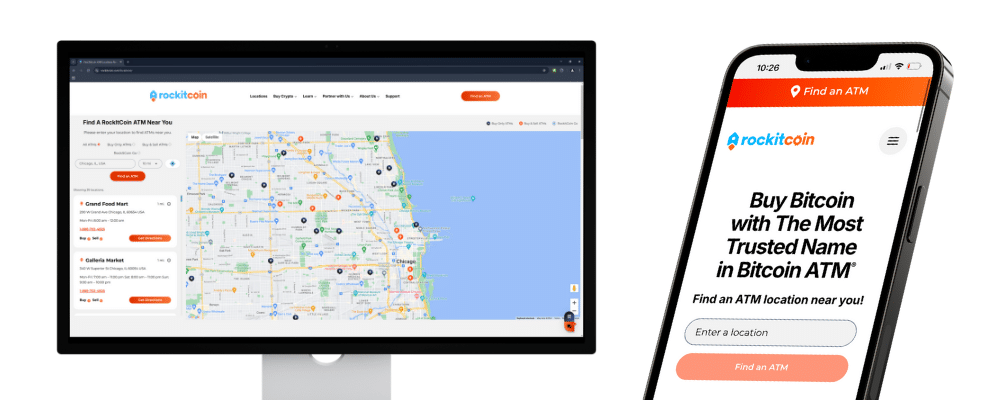
With 2,500+ RockItCoin ATMs around the country, there’s sure to be a RockItCoin ATM close by. Check our locations page to find one near you!
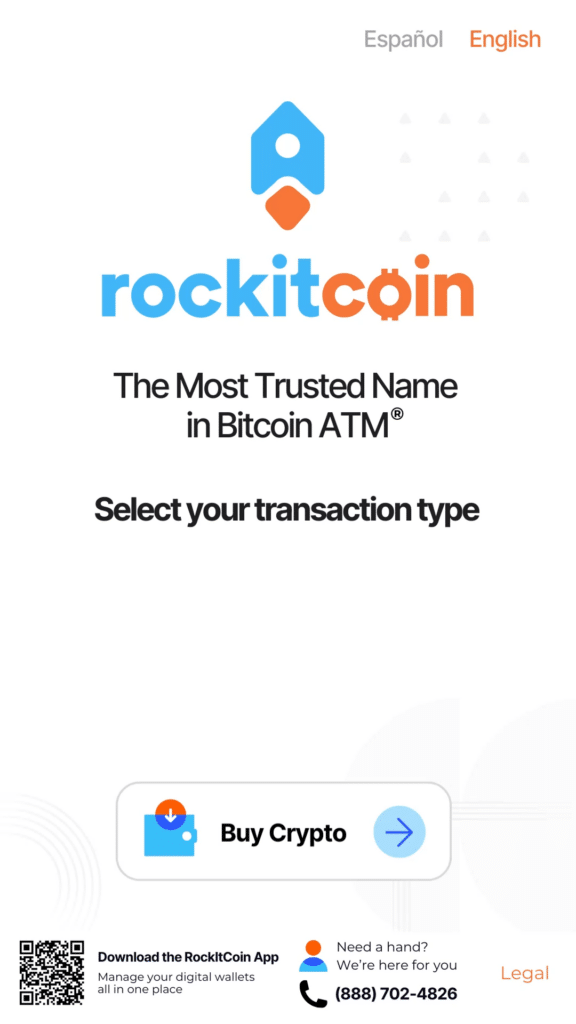
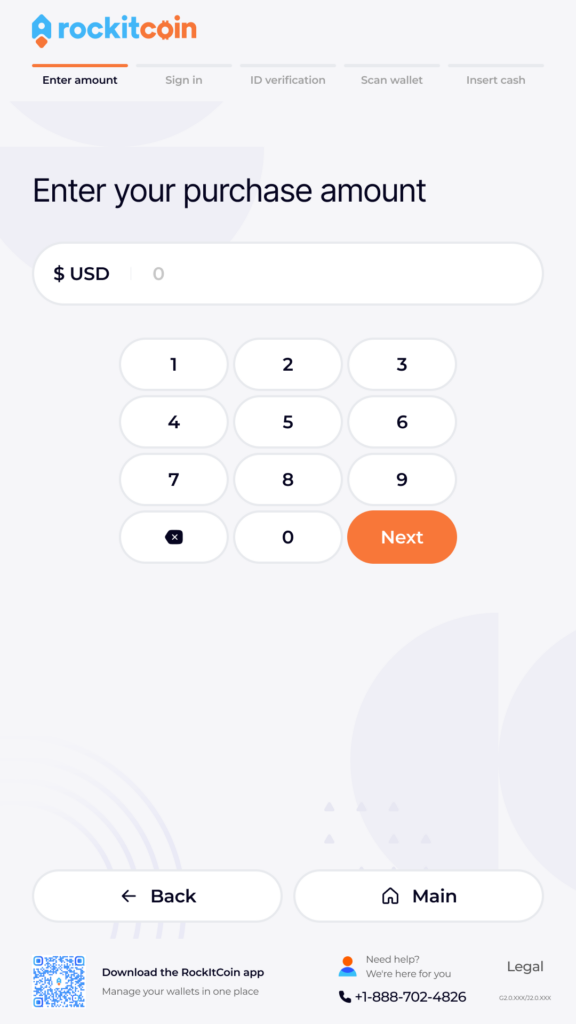
Step 2: Select “Buy Coins” on the home screen. Then, choose the cryptocurrency you want to buy. Next, enter your purchase amount.
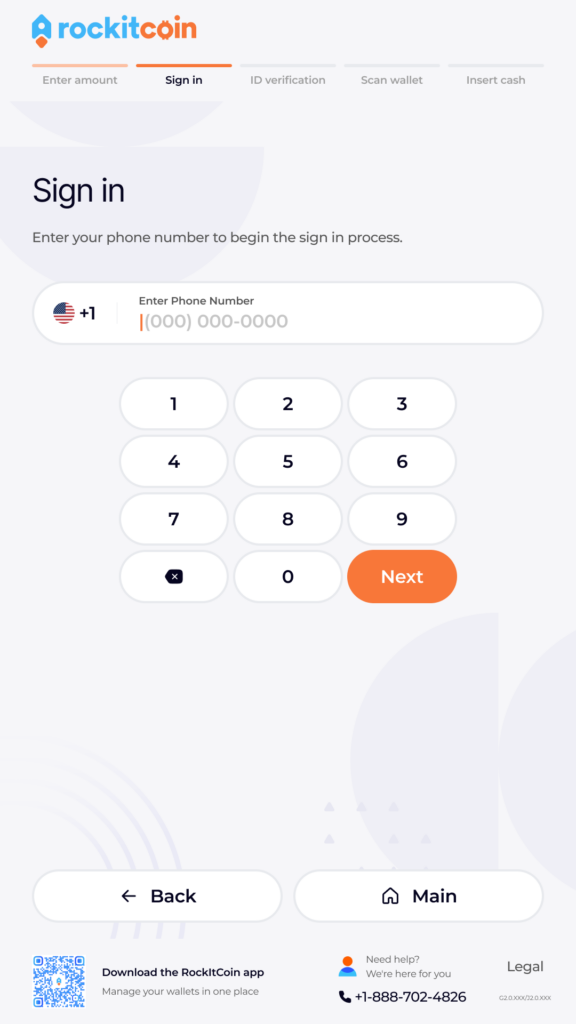
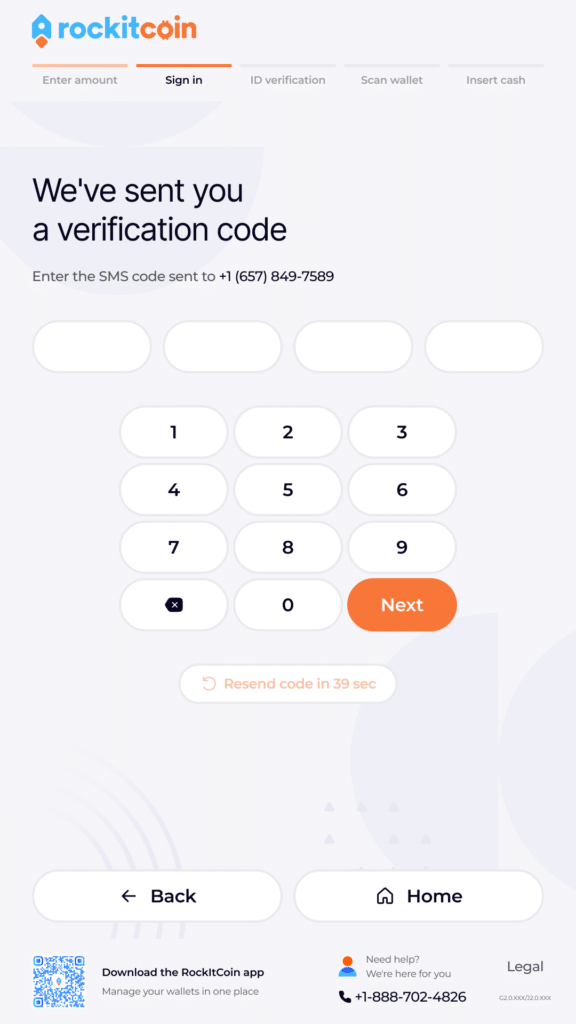
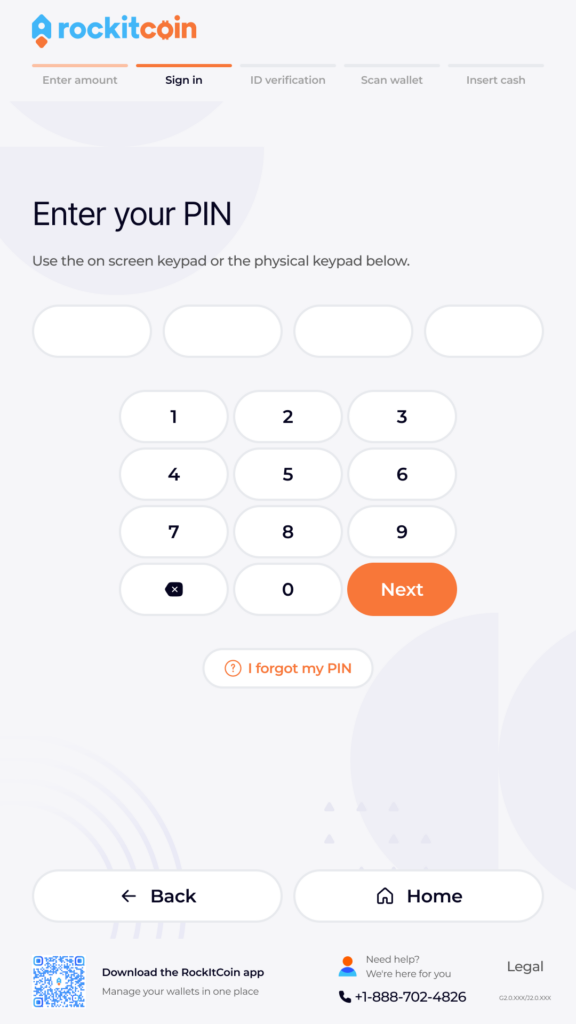
Step 3: Enter your phone number, SMS verification code, and PIN.
New users will receive an SMS code on their phones, which they will be prompted to enter into the RockItCoin ATM to verify their identity. After verifying your SMS code, you will be prompted to create a 4-digit PIN. Returning users simply need to input the PIN they created during their first visit.
New users: You’ll be directed to verify your ID by scanning your ID card (like a driver’s license). Depending on the size of your purchase, you may also need to provide information like your date of birth, SSN, and a photo of your ID.
Existing users: Continue onto the next step (entering your crypto wallet)
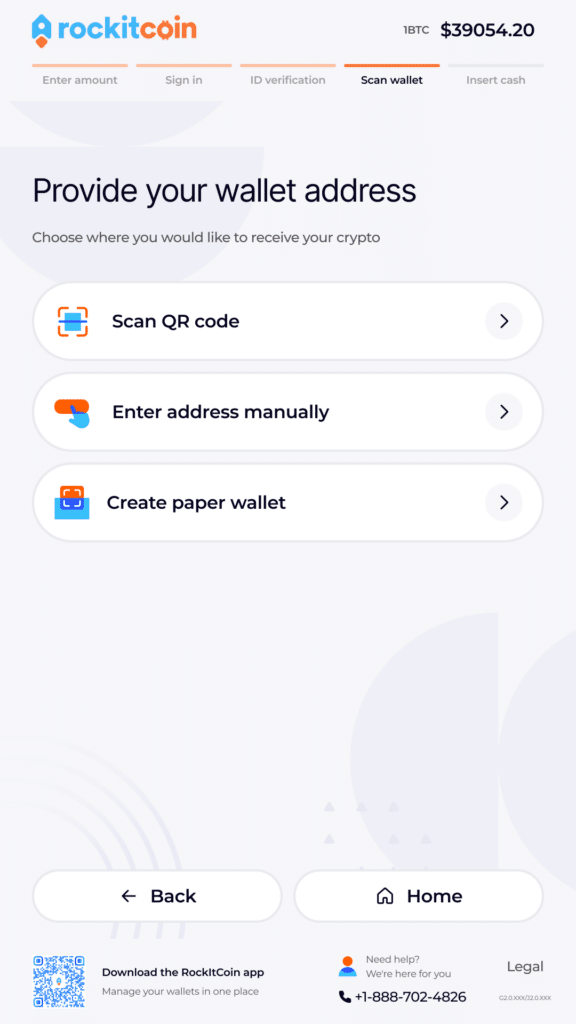
Step 4: Provide your crypto wallet address.
The wallet you scan must be under your full personal control – you cannot scan a wallet that is not yours. You can also create a paper wallet during this step.
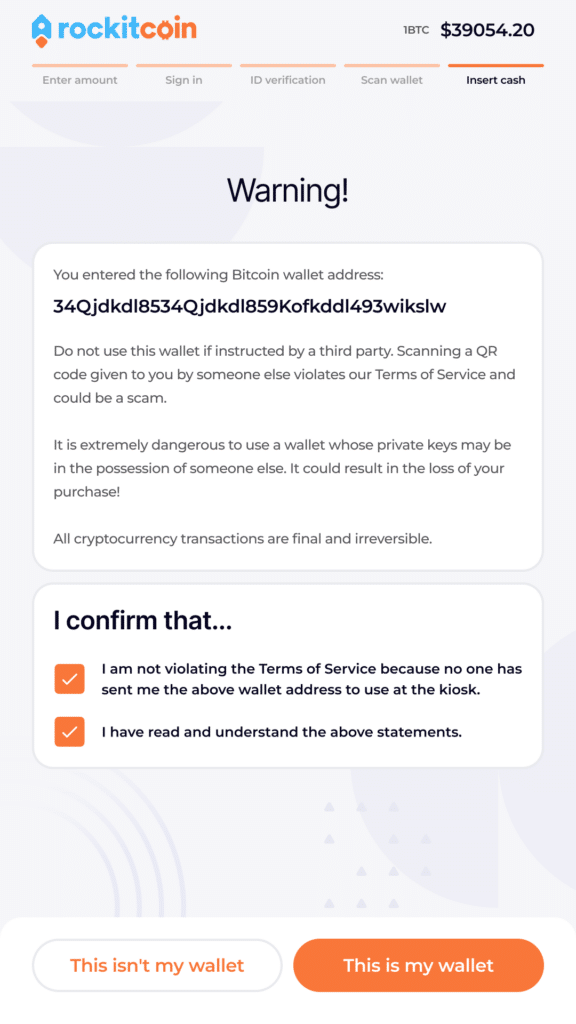
Step 5: Confirm your Wallet Address
Double-check that the wallet address displayed on the screen matches the one that you scanned or entered. It is important that you scan a wallet address that you own and control. Remember – once cryptocurrency is sent, there is no way to stop, cancel, or reverse it.
Step 6: Insert Bills
After confirming your wallet address, the following screen will prompt you to begin inserting your bills. The bill acceptor is located below the keypad of the ATM on the left-hand side and will flash green.
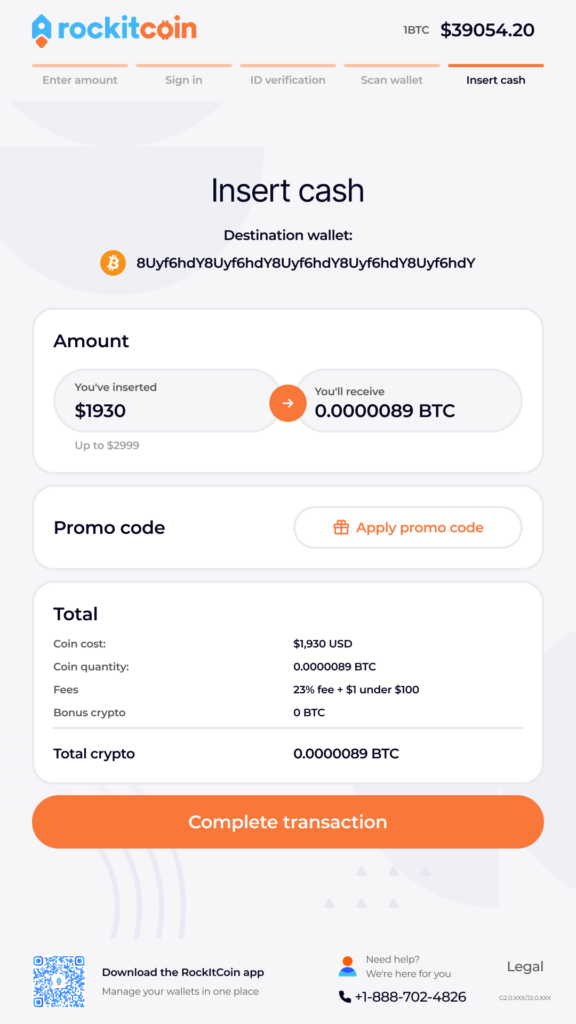
The screen will display the wallet address here as well, so you can triple check that your cryptocurrency is going to the right place. It will also display the amount of cash that has been inserted into the ATM.
If you have a promo code, you can enter it on this screen by tapping the “Apply promo code” button.
Step 7: Select “Complete transaction” and take your receipt
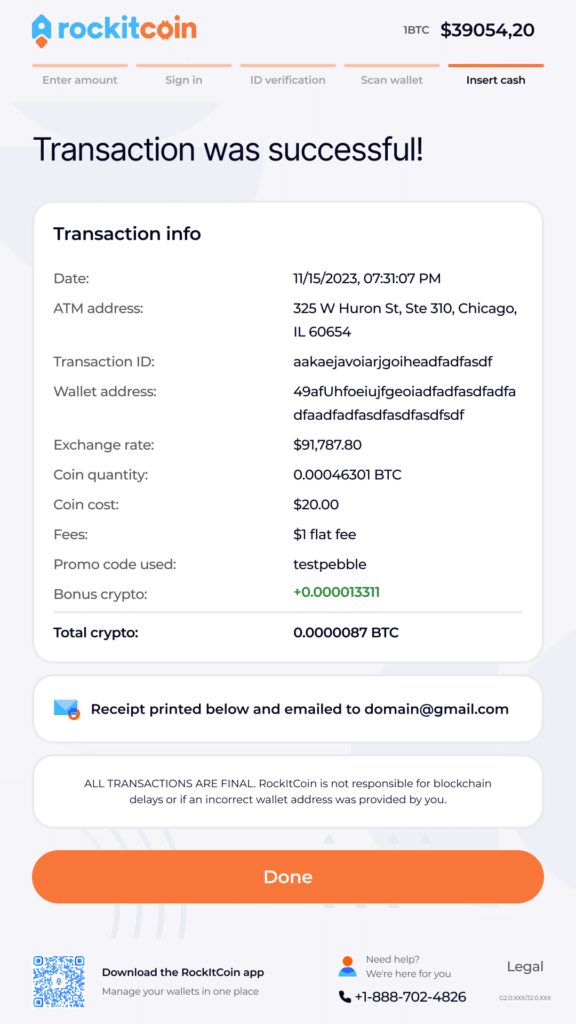
Once you have inserted the bills into the machine, select “Complete transaction” to finish your transaction. You will then receive a printed and emailed receipt.
Transactions typically take 5-30 minutes for your crypto to reach your wallet, depending on how congested the network may be. The more transactions that take place, the longer it may take for your transaction to confirm. Unfortunately, RockItCoin has no control over how long it takes for your cryptocurrency to confirm.
That’s it! You now know how to purchase cryptocurrency using a RockItCoin ATM.
Congratulations on your purchase!